
Security deposit disputes are one of the most frustrating aspects of managing rental properties in NYC. Your tenant has moved out, and you're eager to turn the unit quickly: but then you spot the grimy stovetop, the soap scum in the bathroom, and the mystery stains on the carpet. Now you're stuck in the middle, trying to determine what's "normal wear and tear" versus what justifies deposit deductions.
We understand your position. Your job is already stressful enough without adding tenant disputes and delayed turnovers to the mix. That's why having a clear, thorough move-out cleaning checklist isn't just helpful: it's essential for protecting your investment and maintaining good tenant relationships.
With over 10 years of experience serving NYC property managers and landlords, we've seen what works (and what doesn't) when it comes to turnover cleaning. This comprehensive checklist will help you avoid deposit disputes while ensuring your units are market-ready faster.
Why Move-Out Cleaning Standards Matter in NYC
In New York City's competitive rental market, the condition of your unit directly impacts your bottom line. A spotless apartment photographs better, attracts higher-quality tenants, and commands premium rent. Meanwhile, a unit that looks "almost clean" can sit vacant for weeks, costing you thousands in lost revenue.
The problem? Most tenants: even well-intentioned ones: don't clean to the standard landlords expect. They vacuum the visible areas but miss the baseboards. They wipe down the counters but skip the inside of the oven. These oversights create tension during final inspections and lead to disputes that waste your time and damage tenant relationships.
Having a professional-grade checklist eliminates the guesswork. You know exactly what needs to be done, tenants understand the expectations, and everyone avoids unnecessary conflict.
Step 1: Complete Decluttering and Space Clearing
Before any actual cleaning begins, the apartment must be completely empty. This is non-negotiable and is the foundation for avoiding deposit disputes.
What needs to happen:
- Remove every personal item from all rooms, including closets, drawers, cabinets, and storage areas
- Take down all wall hangings, posters, artwork, and decorative items
- Remove non-original hooks, shelves, screws, and nails that tenants installed
- Patch all holes with spackling compound and touch up with matching paint
- Clear out refrigerator, freezer, and pantry completely
- Remove all personal products from bathrooms and kitchen
The apartment should look like a blank canvas: only the original fixtures and appliances should remain. This allows you (or your cleaning team) to assess the actual condition of surfaces and ensures nothing gets missed during the deep clean.
Many property managers overlook this step, assuming they can clean around remaining items. This is a mistake. You can't properly inspect or clean an apartment that still has tenant belongings scattered throughout. Plus, if disputes arise later, tenants can claim they "were going to remove those items" or "needed to come back for those."
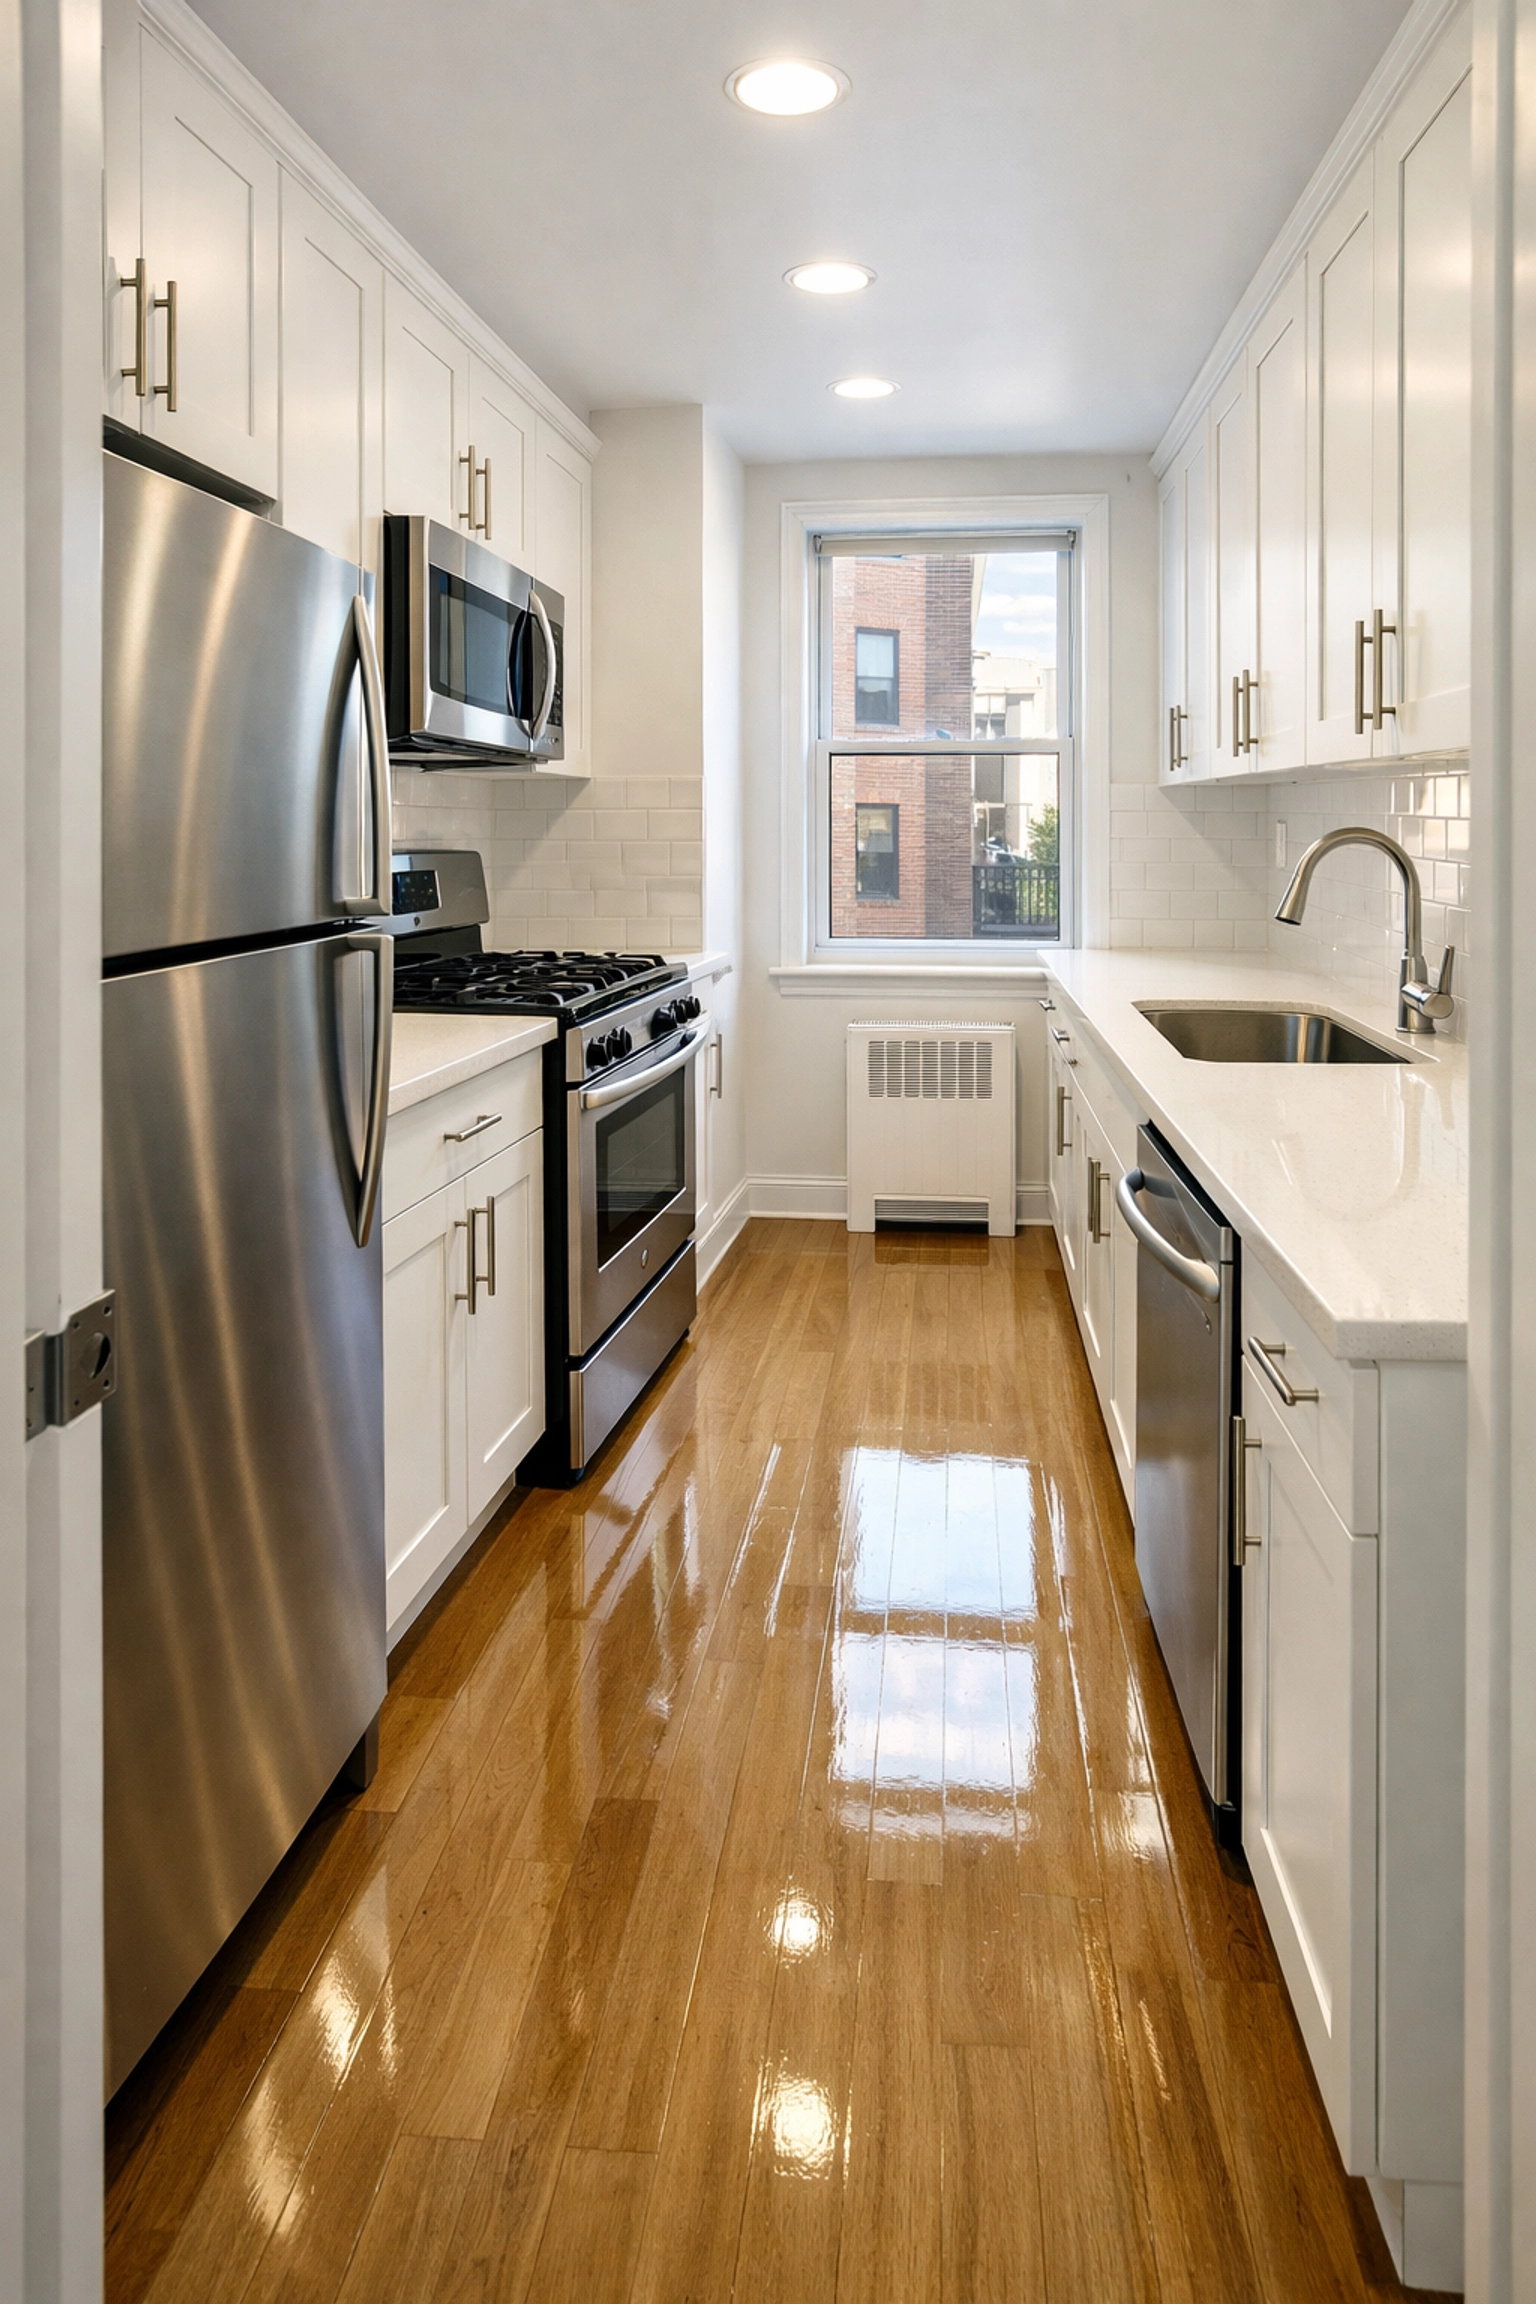
Step 2: Deep Clean the Kitchen Thoroughly
The kitchen is where most deposit disputes originate. It's also the area that prospective tenants scrutinize most closely during showings. A grimy kitchen suggests neglect, while a sparkling one signals quality.
Your kitchen cleaning checklist should include:
- Refrigerator: Empty completely, turn off, remove shelves and drawers, clean all interior surfaces, wipe down exterior and handles
- Oven and stovetop: Use commercial-grade degreasers to remove baked-on grease, clean oven racks, scrub stovetop burners and drip pans
- Microwave: Clean interior, exterior, and turntable; remove all food splatters
- Dishwasher: Clean filter, run empty cycle with cleaning solution, wipe down exterior
- Cabinets and drawers: Wipe down all interior and exterior surfaces, clean handles and knobs
- Countertops and backsplash: Remove all stains, grease, and food residue
- Sink and faucet: Scrub sink basin until shining, remove limescale from faucet
- Floors: Sweep thoroughly, then mop with appropriate cleaner for the flooring type
The key is thoroughness. Prospective tenants will open cabinets and drawers. They'll look inside the oven. Every surface matters.
At Fresh Start Facility Services, our move-in/move-out cleaning specialists have tackled thousands of NYC kitchen turnovers. We know which products cut through years of cooking grease and which techniques restore even neglected appliances to like-new condition.
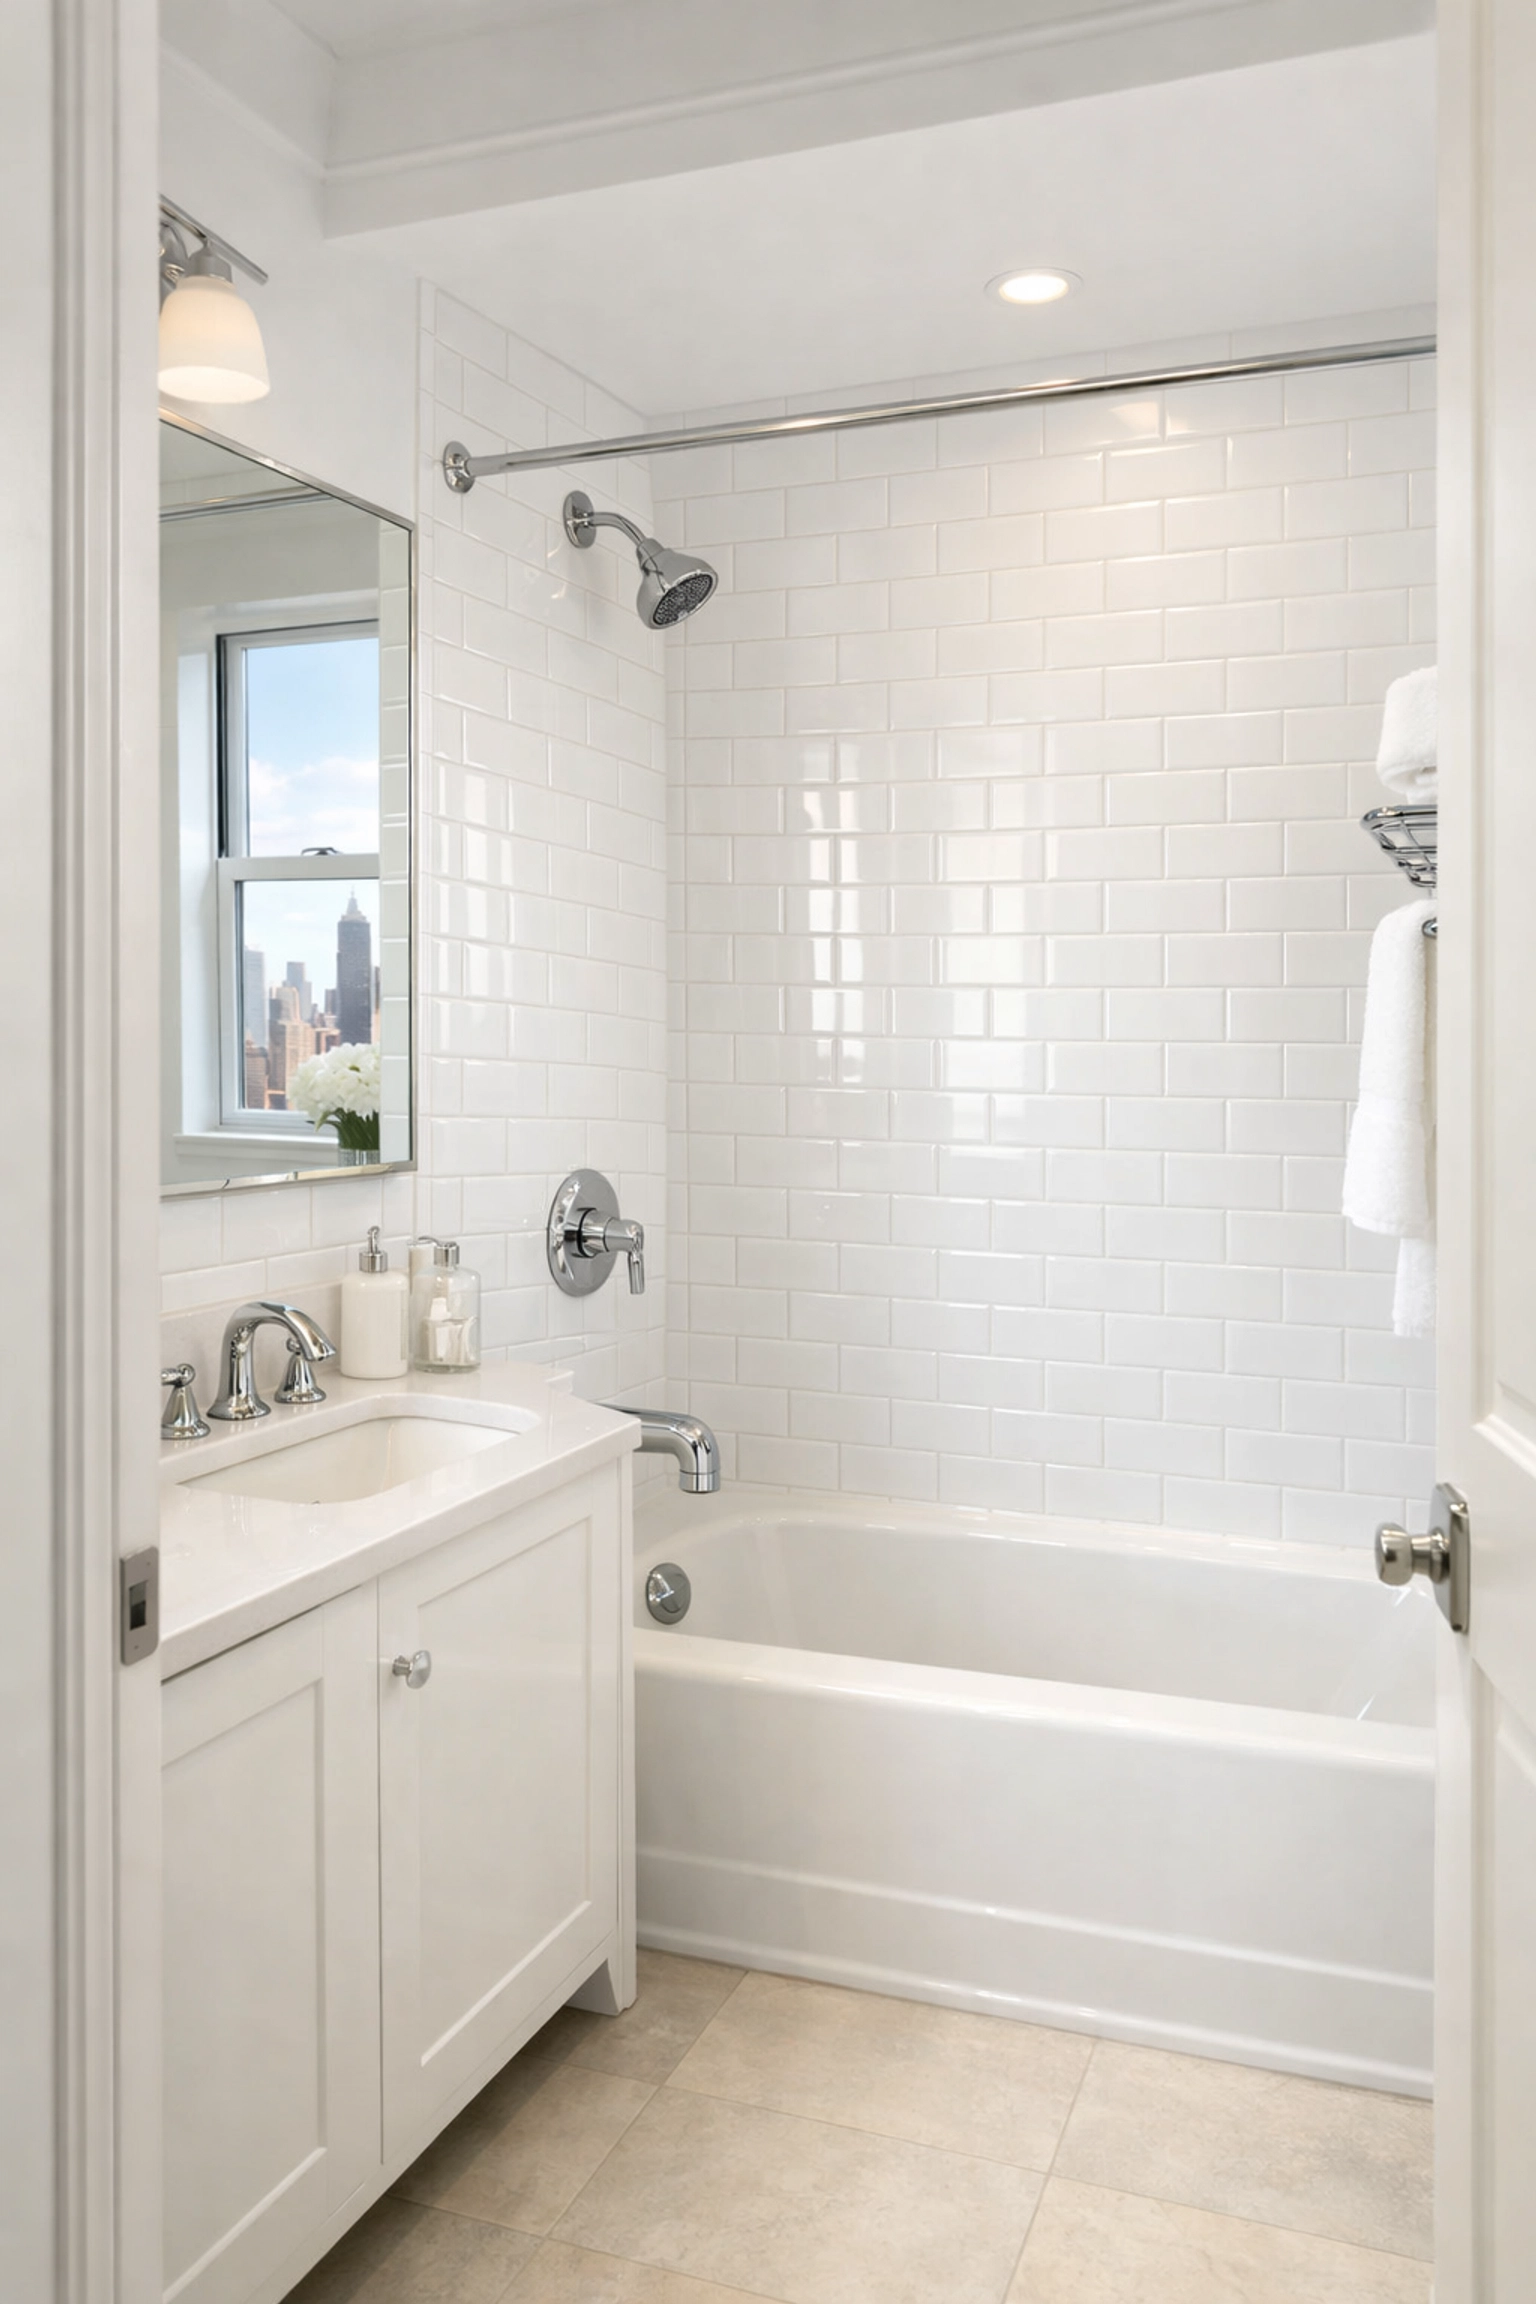
Step 3: Scrub the Bathroom Meticulously
Bathrooms are critical inspection areas: and for good reason. A dirty bathroom is an immediate dealbreaker for prospective tenants and a legitimate reason for deposit deductions from outgoing tenants.
Your bathroom deep-clean must address:
- Toilet: Clean and disinfect bowl, seat, tank, and base; remove all stains and rings
- Tub and shower: Remove soap scum, mildew, and limescale from all surfaces; scrub grout lines; clean showerhead and fixtures
- Sink and vanity: Scrub sink basin and faucet; clean countertop; wipe down all cabinet surfaces inside and out
- Mirrors and glass: Clean until streak-free and sparkling
- Floors: Mop thoroughly, paying special attention to corners and around the toilet base
- Walls and tiles: Wipe down to remove water spots, soap residue, and any mildew
- Ventilation: Clean exhaust fan cover and interior
The bathroom should smell fresh and look sanitized. This isn't just about aesthetics: it's about ensuring the space is genuinely clean and hygienic for the next tenant.
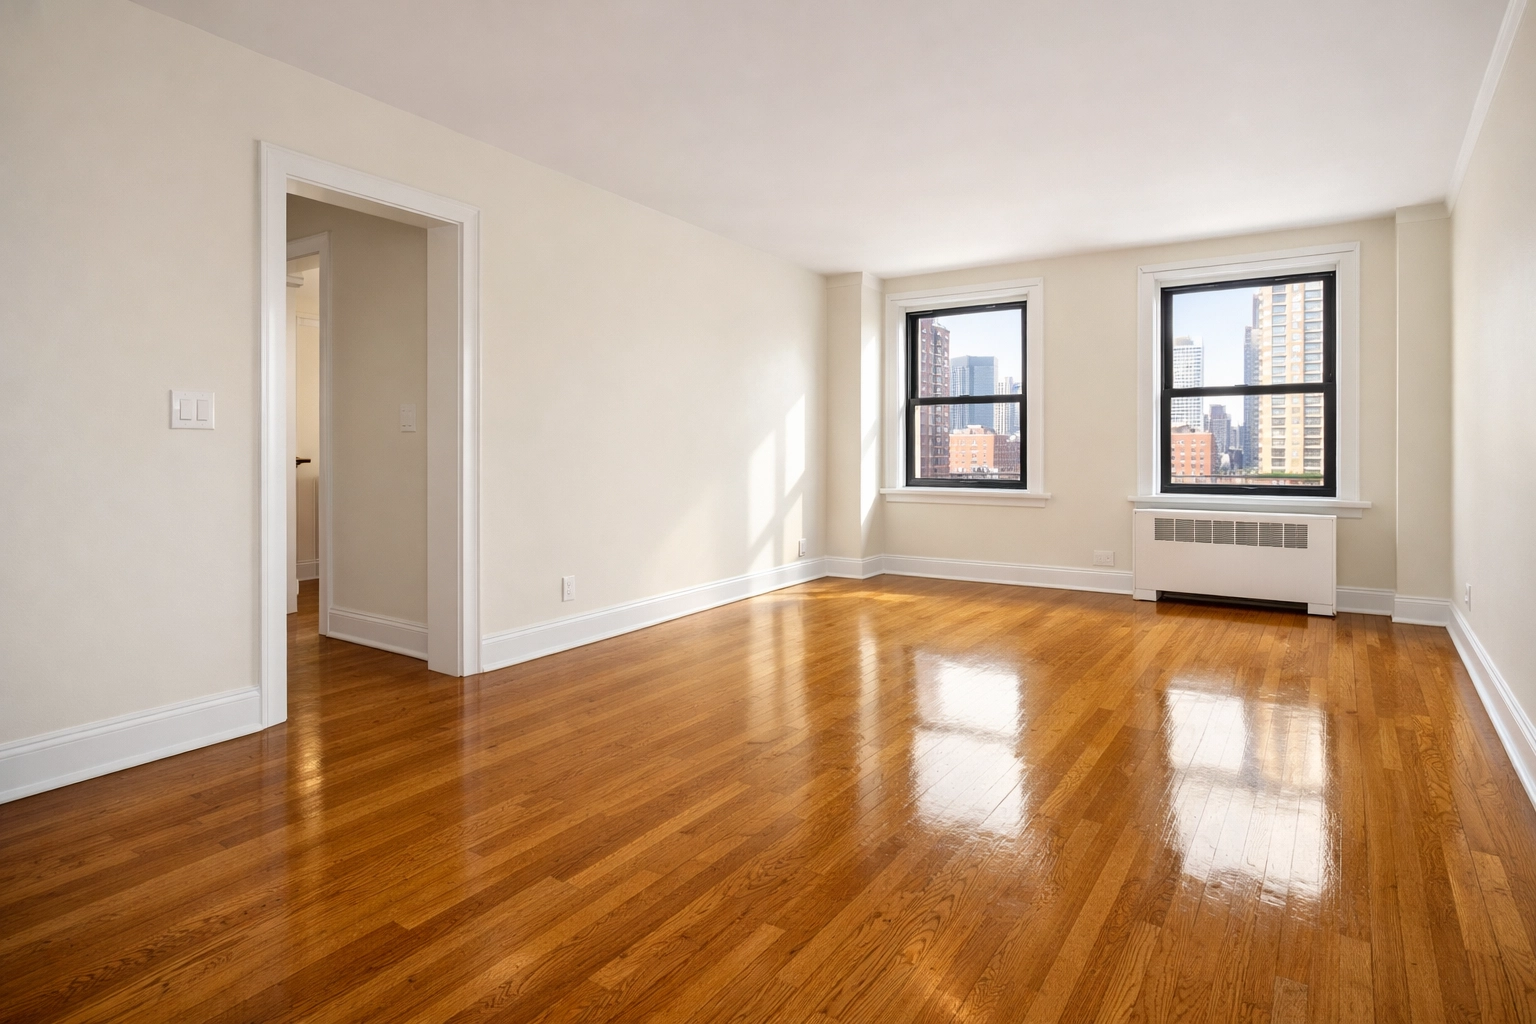
Step 4: Address Living Areas, Bedrooms, and Overlooked Details
The main living spaces might seem straightforward, but they contain dozens of easily overlooked details that can derail an inspection.
Comprehensive cleaning includes:
- Dusting: All baseboards, windowsills, ceiling fans, light fixtures, air vents, door frames, and crown molding
- Walls: Remove scuff marks, fingerprints, and any stains; touch up paint where necessary
- Windows: Clean glass inside and out, wipe down frames and sills, clean or replace window screens
- Closets: Vacuum floors, wipe down shelving, clean closet doors and hardware
- Doors and hardware: Wipe down all door surfaces, clean handles and hinges
- Light switches and outlets: Clean all switch plates and outlet covers
- Floors: Vacuum carpets thoroughly (including corners and under where furniture was), mop hard floors, clean under radiators and in corners
- Ceilings and corners: Remove cobwebs and dust buildup
These details matter enormously. A prospective tenant might not consciously notice clean baseboards, but they'll definitely notice dirty ones. The cumulative effect of these small touches makes the difference between a unit that feels "clean enough" and one that feels truly move-in ready.
Step 5: Conduct Final Inspection and Documentation
Once all cleaning is complete, the final step is verification: and this is where many landlords drop the ball.
Your final inspection should include:
- A room-by-room walkthrough using this checklist as your guide
- Photos of every room and major surface area after cleaning
- Documentation of any pre-existing damage or wear
- Notation of any areas that may need professional attention (carpet cleaning, painting, repairs)
- Timestamp on all photos for potential dispute resolution
This documentation serves multiple purposes. First, it gives you proof that the apartment was properly cleaned and ready for the next tenant. Second, it provides a baseline for assessing any damage the next tenant might cause. Third, it protects you in potential disputes with the outgoing tenant over deposit deductions.
Many NYC property managers find that professional documentation makes the difference when disputes arise. Clear, timestamped photos showing the apartment's condition immediately after the previous tenant's move-out eliminate "he said, she said" arguments.
When to Call in Professional Help
Here's the reality: thorough move-out cleaning takes 6-12 hours for an average NYC apartment, depending on size and condition. That's time you probably don't have when you're trying to turn a unit quickly and get it back on the market.
Professional turnover cleaning services like Fresh Start Facility Services bring three key advantages:
- Speed: Our experienced teams complete comprehensive cleanings in a fraction of the time it would take to DIY
- Thoroughness: We follow detailed checklists and have the commercial-grade equipment and products to tackle tough jobs
- Consistency: Every unit receives the same meticulous attention, so you can count on reliable results
With over a decade serving NYC property managers, we understand the pressure you're under to minimize vacancy time while maintaining high standards. Our turnover cleaning services are specifically designed for the fast-paced New York rental market.
Protecting Your Investment, One Unit at a Time
Move-out cleaning isn't just about making an apartment look presentable: it's about protecting your investment, maintaining your reputation, and respecting both your outgoing and incoming tenants. A thorough cleaning prevents deposit disputes, speeds up turnovers, and ultimately increases your property's value and rental income.
The five steps outlined in this checklist provide the framework you need to achieve professional-grade results consistently. Whether you're handling the cleaning yourself or partnering with a professional service, following this systematic approach ensures nothing gets overlooked and every unit meets the high standards NYC renters expect.
Your time is valuable, and your properties deserve expert care. At Fresh Start Facility Services, we're ready to make your turnover process easier, faster, and more reliable. Contact us today to learn how we can help you maintain spotless, market-ready units that attract quality tenants and maximize your rental income.
2 Responses